
Frozen has become this massive landslide of snowflakes and glitter. Every little girl I know loves it. Let it Go is heard wherever we go. And don’t even get me started on the mad dash to get the recently restocked Elsa dresses at Disneyland for Little Miss that we had to do.
So, in honor of the awesomeness of Frozen, here’s a tutorial just for you! Little Miss loves Elsa. She walks around pretending she has Elsa powers, holding her hands out infront of her with an intense concentration on her little 2 year old face or stomping her foot hard upon the carpet turning everything to ice with joyful glee. But besides the before mentioned Elsa dress, she doesn’t have anything else that’s frozen. I tried to buy her a shirt but she’s moving up into girl sizes now and for whatever reason, a size XS Frozen shirt we found is fitted instead of straight and just doesn’t fit her right. We had to return it. To make it up to her I made this.
I found an Elsa template from Heidi and Finn. I decided instead of sewing it on like in their tutorial, I would screen print it instead. Copying another Frozen design on their site I planned out my design on a plain white tank top that was on sale at Target.


I placed the paper template onto white contact paper that I got from home depot. You really don’t need anything fancy for this. Screen printing can be very complicated, but it can also be very simple as well. Make sure you cut the shape out without cutting through the rest of the contact paper. The Elsa I cut out isn’t needed. For the screen printing, it’s the missing pieces that will receive the paint.

I peeled the backing off the contact paper and placed Elsa onto my screen. I have an actual screen printing screen we got from a yard sale awhile back. The screen is dirty though and, because of that, doesn’t always work just right. I really should just toss it but I can’t bring myself to do it. We also have screens we’ve made when Green Bubbles did Curiosity Hacked (previously known as Hacker Scouts) last summer. There’s a great tutorial at One Golden Apple that talks about making your own screens as well as the contact method above and how to do it with kids!
I ran into a problem mixing the colors of screen printing ink. I wish it turned out a little more like the color of the thread and less blue, but I don’t think Little Miss cares. (I have no problem sharing my mistakes with you!) I used Speedball ink and I highly recommend getting Speedball Fabric Screenprinting Ink Starter Set instead of buying the colors separately. It comes with all the primary colors plus green, black and white so you are able to mix the colors you need. Once the ink is applied you do need to heat set the ink by ironing it. If you forget this step your beautiful design will just wash out. Or, if you make a horrible mistake and want to remove it.
I also made a tutu to make the tank top for Little Miss. Do you think she likes it?
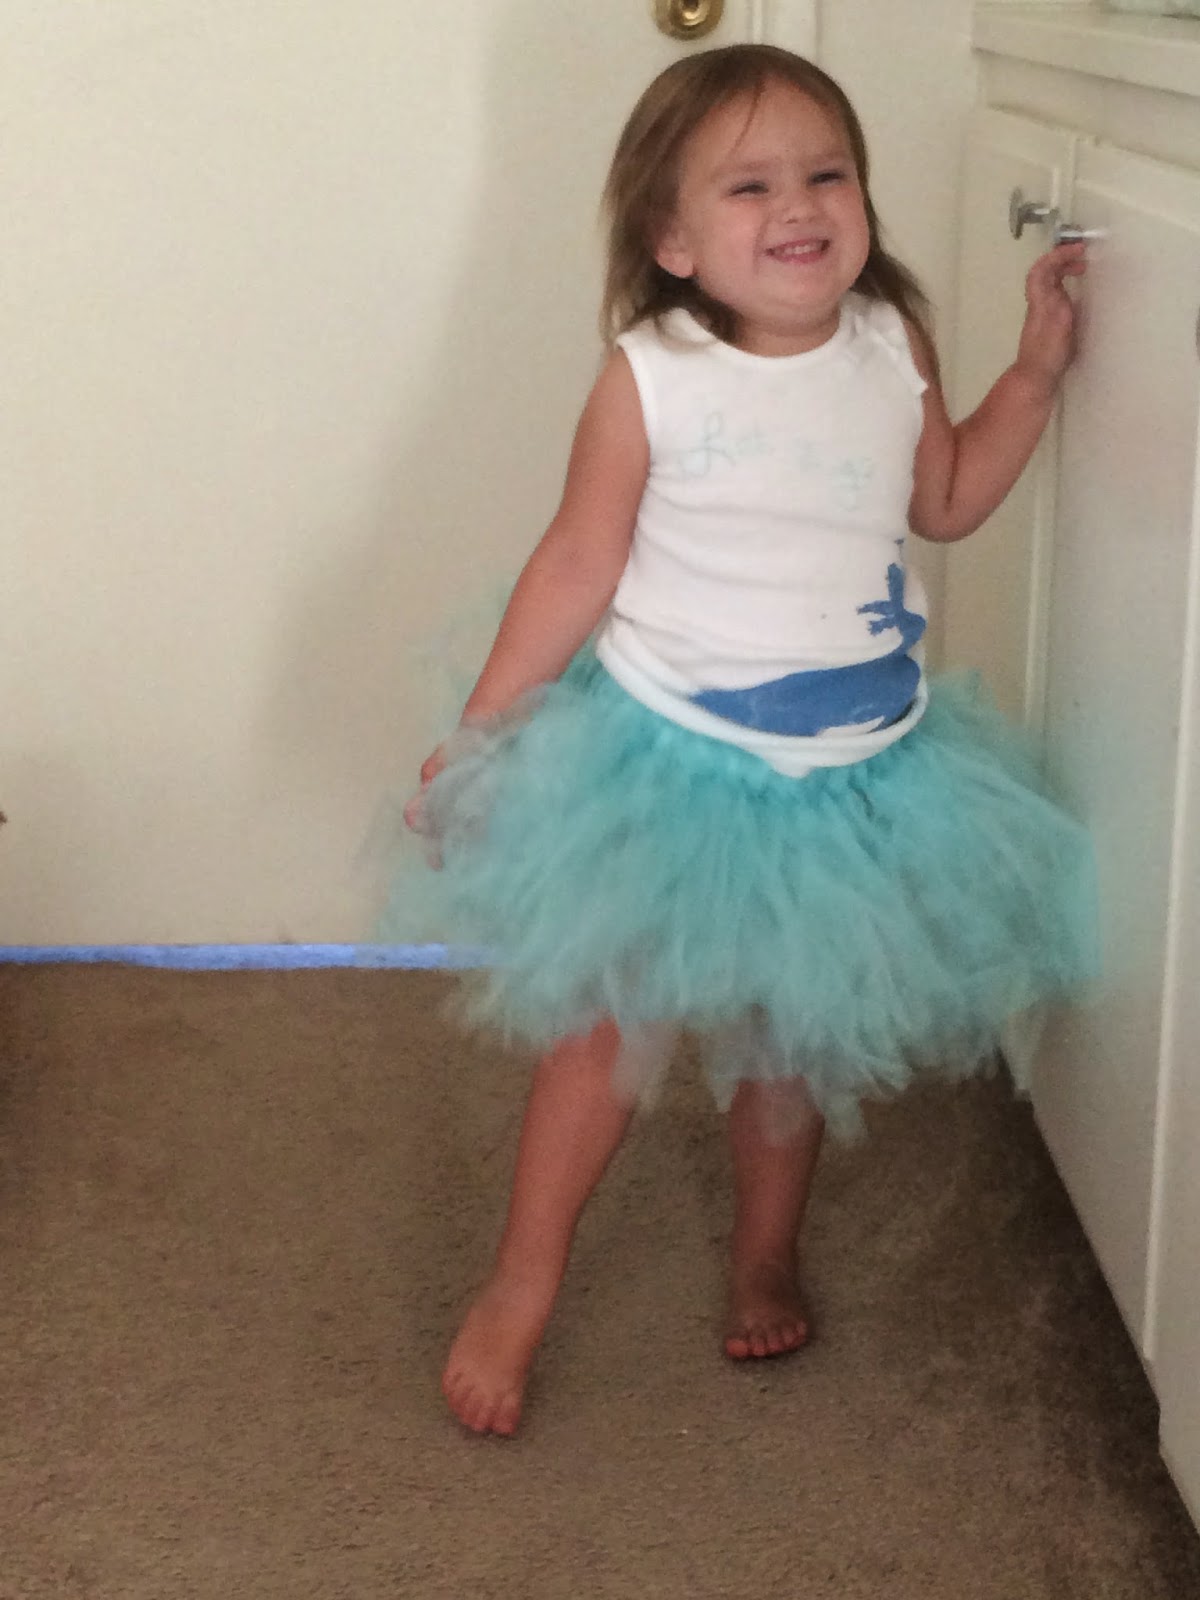

We’ll be wearing this to Disneyland on one of our many trips. Little Miss has an Elsa dress from Disney but it’s just to hot to wear right now. The tank top and tutu is a lot cooler!


She looks absolutely adorable. Glad it worked out so well.